Renewing my Eucalyptus Garden Furniture

Renewing my Eucalyptus Garden Furniture
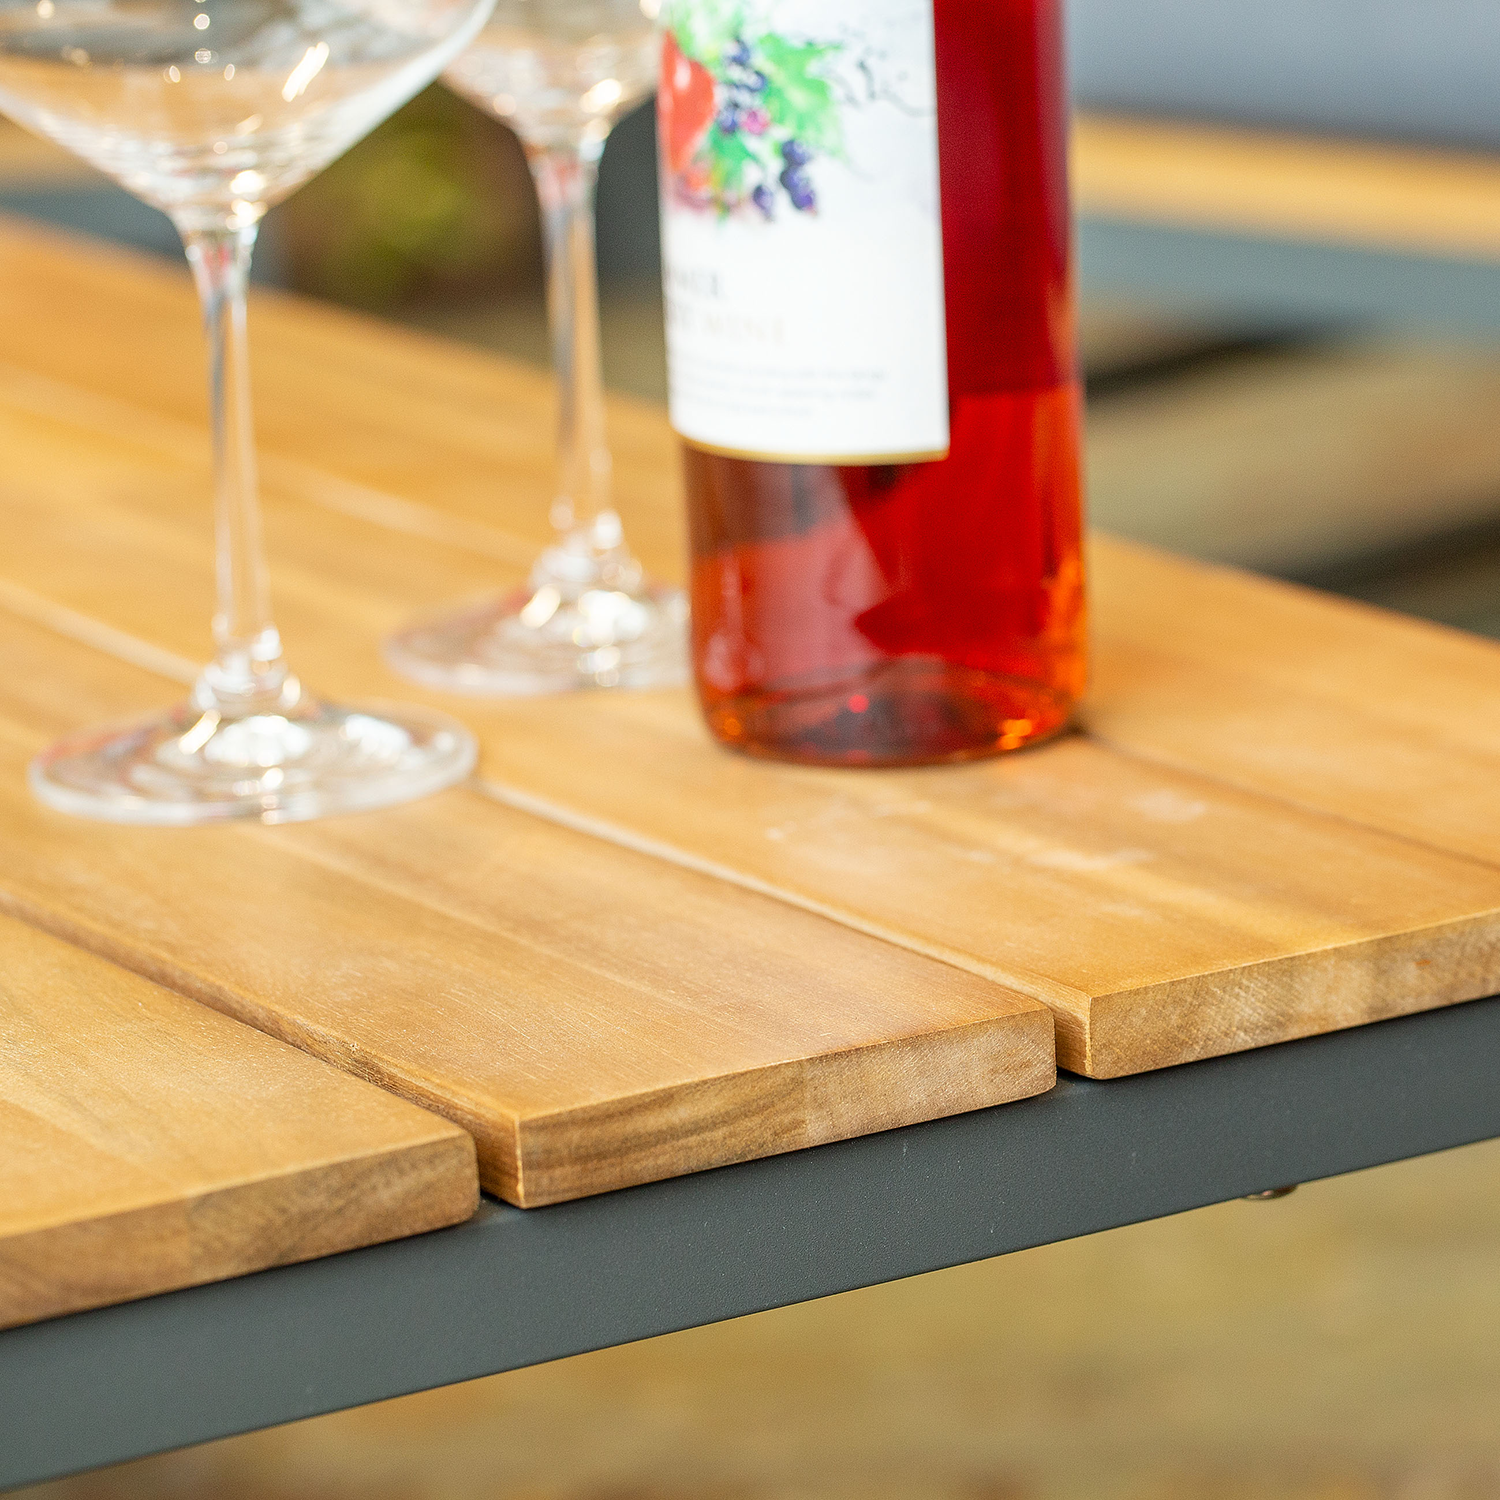
High-quality Eucalyptus garden furniture is very popular because it is not only attractive, but also extremely hardwearing and it can resist all kinds of weather, but of course only up to a point. With prolonged exposure to the sun and moisture, the wood becomes jaded and dry, especially if not covered properly to protect the furniture from weather- and physical damage.
What causes the deterioration of Eucalyptus garden furniture?
The main culprit is the sun’s ultraviolet rays that attack the molecular integrity of all materials and through oxidation and physical damage, the protective layers on the surface are scuffed and evaporate. If the furniture is uncovered, temperature changes, moisture and wind speed up this process.
Is it easy to restore eucalyptus garden furniture?
The good news is that because Eucalyptus is a dense hardwood, containing lots of natural protective oils, it is easier to restore than most other wood species and with some effort, your furniture can look as good as new. Although Spring is a great time for renewal, you can refurbish your eucalyptus garden furniture any time of the year and with proper maintenance, you can keep it looking beautiful through all four seasons by maintaining and covering it with a ClearSpell cover, you can make it last for generations.
What are the restorative steps to refurbish my eucalyptus garden furniture?
Depending on the condition of your eucalyptus garden furniture, clean, sand and reseal the wood to regain the honey-brown patina of the eucalyptus. It might be necessary to repair cracks or splits in the wood and to repair hinges and joints. As part of regular maintenance, you can apply oils or polishes at regular intervals, but once the wood has started to turn grey, it will only improve the colour for a while, after which the wood will become dull and grey again. Far better not to skip any stages. The final step is to protect your eucalyptus garden furniture with a ClearSpell cover to make it last for decades.
Step 1: Cleaning
- Use a suitable wood cleaner to remove all the grime, residue, mildew and mould from the surface and all the joints. Some people prefer the speed and ease of a pressure washer, but this could damage the wood or trap moisture under the finishing layer, and especially if the wood is older, it is not recommended.
- A variety of commercial wood cleaners is available from hardware stores, but it is easy to make your own solution of spirit vinegar and warm water (1 cup vinegar to 4L of water and if greasy or oily, add ½ cup of bicarbonate of soda. Because the vinegar and bicarb react to each other, it is better to prepare small amounts of the mixture and use it before it stops fizzing.) If you are in doubt, stick to commercial wood cleaners.
- Rub the cleaner into the wood with a bristle brush or scouring pad to penetrate the wood pores where grime, mould and mildew spores may have collected.
- Take special care at joints, hinged parts and spaces between slats to get into all the crevices.
- Leave the cleaner to do its work for about 15 minutes, rinse it off with clean water, and then thoroughly dry the wood.
- Repeat the process if necessary.
Step 2: Sanding
To help the oils to penetrate the surface deep into the wood to protect it from inside once again, it is necessary to sand the wood. The condition of the wood will determine how much sanding is necessary.
- Remove any surface treatment such as varnish or paint and sand down the outermost layer of dull wood.
- If the deterioration goes deeper than just the surface layer, sand down to the healthy wood at the same depth where the wood is the same hue along the entire surface.
- Start with a coarser grit like 80 or 100 and gradually use finer grit down to about 180 to obtain a smooth, velvety feel. You can start with 120 grit if it is only necessary to smooth the surface.
- If some deeper marks or cracks cannot be sanded out, carefully remove the damaged wood with a sharp chisel and fill the holes with a suitable, colour-matching wood filler.
- A finishing sander will do the job quickly, but sanding by hand could be just as effective only more work. Some areas may have to be sanded by hand where you cannot reach with a finishing sander.
- Take care to keep the surface flat, without any hollows or raised spots.
- Sand all joints, hinged parts and sections between slats right to the edge, otherwise it will appear dirty and unfinished.
- Finally, smooth the wood with a very fine grit paper to achieve a velvety feel.
- Use a wood cleaner to remove all traces of dirt and dust left over from the sanding process.
Step 3: Treating the eucalyptus wood
Whether you want a shiny or matte finish, or apply oil or varnish, is a personal preference.
Oil or sealer:
- A brightener that restores the original eucalyptus colour may be applied directly to the sanded wood before proceeding with oil or sealer.
- Using a soft cloth, sponge or brush, evenly apply several thin layers of good wood oil or sealer that will penetrate the surface. This protects the wood from the inside and acts as a UV shield.
- Allow each layer to dry properly before applying the next layer, continuing until the wood is saturated and does not absorb any more of the oil or sealer.
- Wipe away any excess oil or sealer that might spoil the appearance and let the wood dry.
- Lightly polish the wood with a soft, lint-free cloth to bring out the sheen.
- It may be necessary to re-apply oil or sealer every few months to prevent the wood from drying out again.
Varnish:
If you prefer the look of varnish to oil or sealer, decide whether you want a glossy or matte finish and follow these steps:
- Use only newly purchased varnish and stir it slowly to avoid air bubbles forming.
- If you use a penetrating resin varnish, it is not necessary to seal the wood first, but it is advisable to seal the wood first with natural or lacquer finishes.
- Special varnish sealers can be used, otherwise use the same varnish thinned 50-50 with turpentine or mineral spirits.
- The varnish can be applied with an air spray gun, but this requires special skill.
- With a flat brush, paint up to three coats of varnish, working with a light touch so that only the tips of the brush bend.
- Use a criss-cross technique to apply the varnish and then smooth it in the direction of the wood grain.
- Wait for each coat to dry and sand lightly with a fine-grit paper, such as 180.
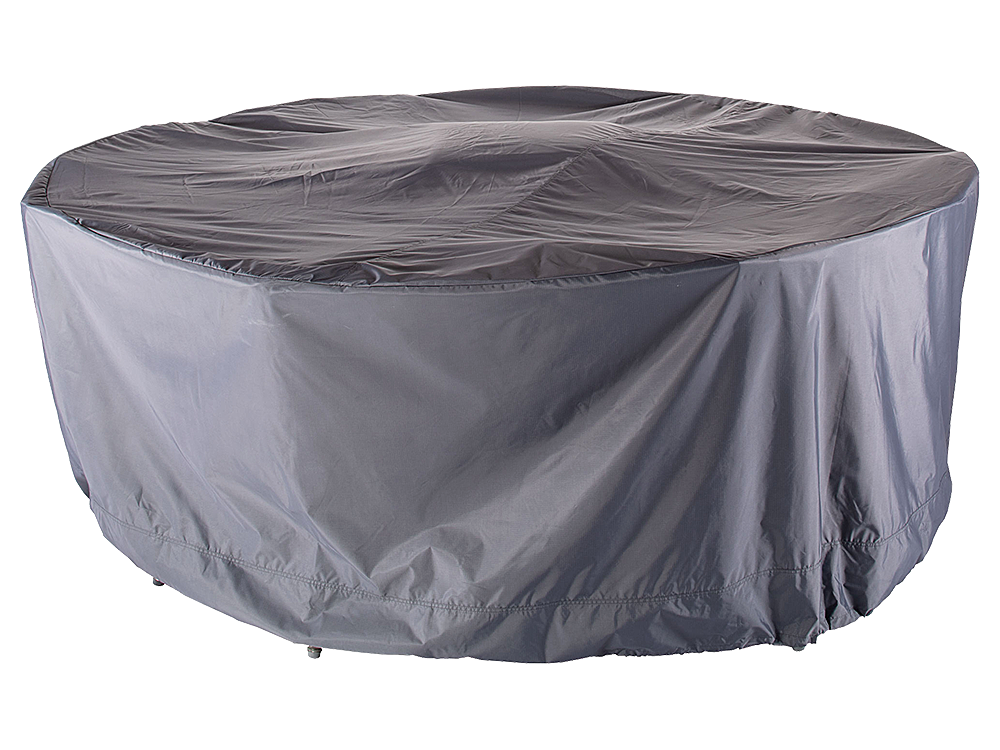
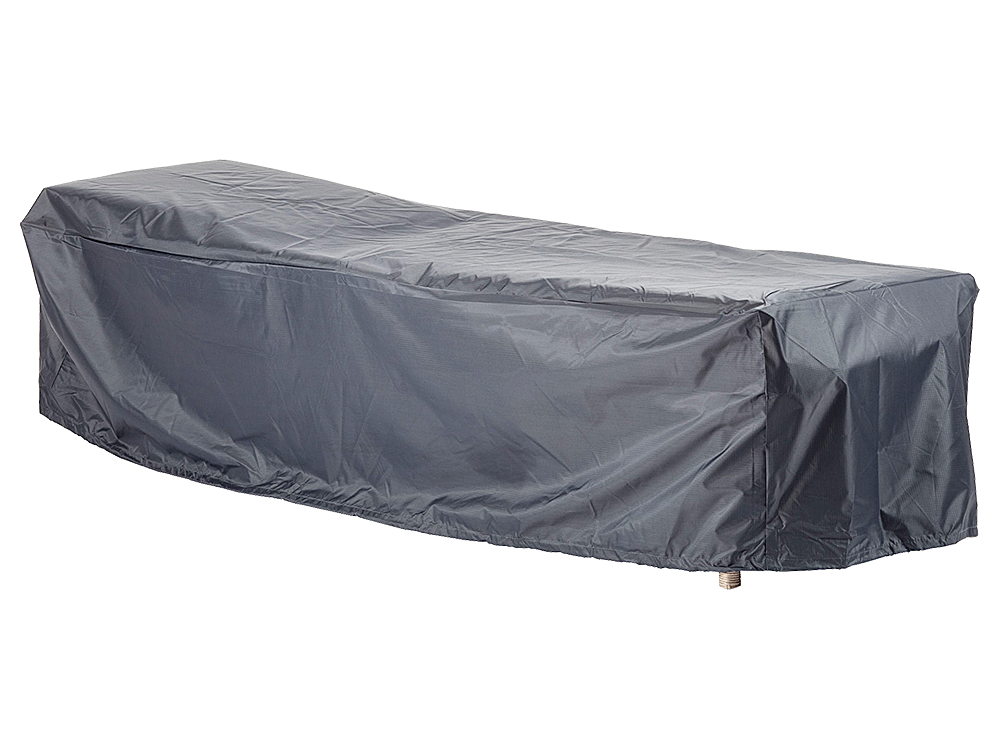
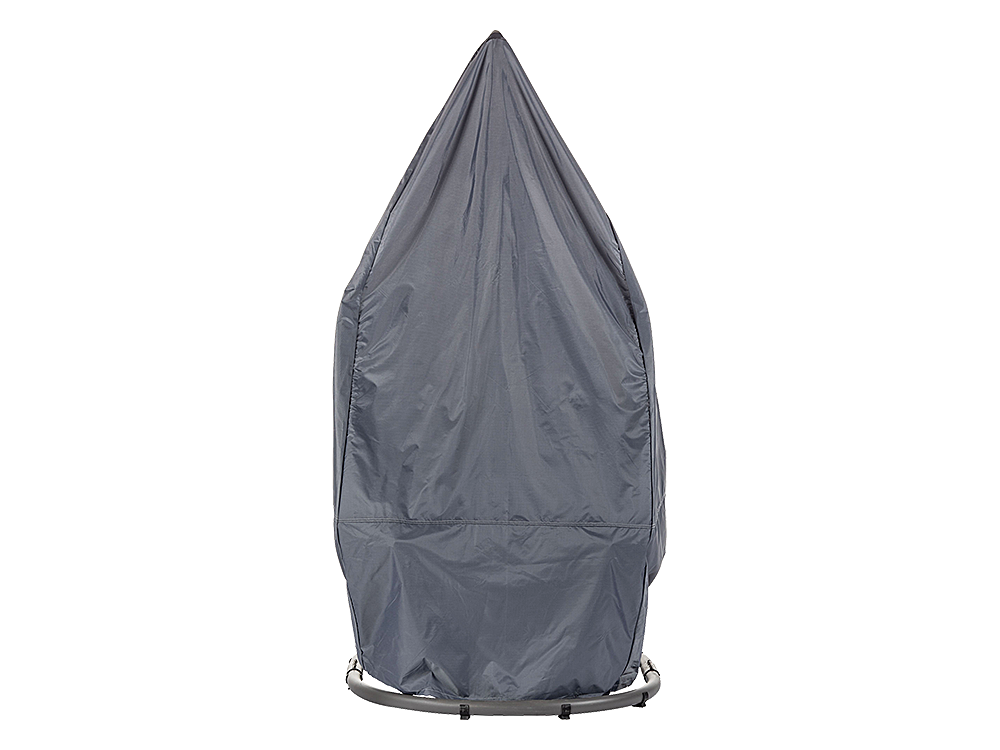
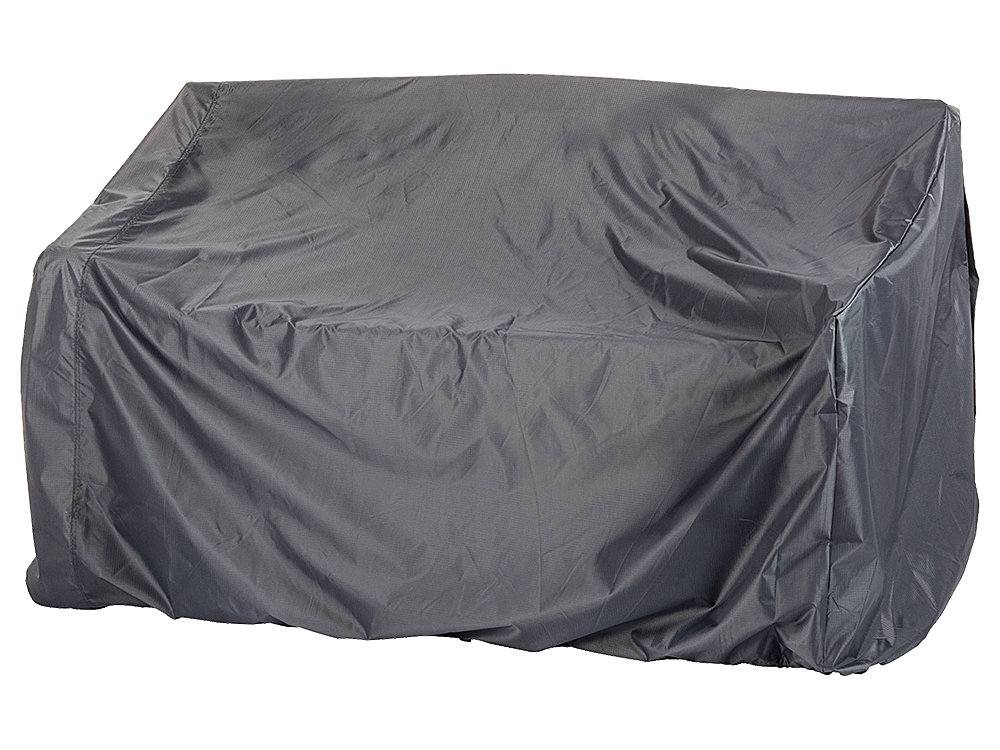
Step 4: Protect your eucalyptus garden furniture with the correct size and shape ClearSpell cover.
Made from top-grade heavy-duty Polyester which is far superior to any other material, ClearSpell covers will extend the lifespan of your garden corner set by many years, backed by a market-leading 5-year guarantee. ClearSpell covers have an attractive woven fabric appearance, so your garden still looks smart while the furniture is covered. ClearSpell covers have an exceptionally high UV rating of 50+, are fully waterproof and can endure extremely cold temperatures and strong gusts of wind. They are easy to keep clean because they are fully washable, or can simply be wiped down with a wet cloth. Because they are much softer than nylon or older types of polyester, they are easy to handle and will not rub against the furniture to cause scuff marks in gusty conditions. When the covers are not in use, they can be stored in a handy carry bag.
Please check our buyer’s guide if you need help working out what size garden corner set covers you require. Click Here


